Achieving pristine copies and prints is essential for professional documentation. However, issues such as streaks, lines, or spots can detract from the quality of output and hinder productivity. Xerox machines are renowned for their reliability and performance, but occasional maintenance and troubleshooting may be necessary to address such issues effectively. In this comprehensive guide, we’ll explore various methods on removing lines or spots on copies and prints produced by Xerox machines, ensuring optimal print quality and user satisfaction.
Understanding Common Print Quality Issues
Before diving into specific troubleshooting methods, it’s essential to identify the nature of the problem. Streaks, lines, or spots on copies and prints can stem from various factors, including:
- Toner cartridge issues
- Drum unit problems
- Fuser unit malfunctions
- Dirty or damaged rollers
- Improper paper handling
- Environmental factors such as humidity or temperature
By pinpointing the root cause of the issue, you can implement targeted solutions to restore print quality effectively.

Step-by-Step Troubleshooting Guide
1 – Inspect the Toner Cartridge
Begin by checking the toner cartridge for any signs of damage or depletion. Replace the toner cartridge if it’s low on toner or if there are visible defects such as leaks or spills.
2 – Clean the Drum Unit
The drum unit plays a crucial role in transferring toner onto the paper. If the drum is dirty or damaged, it can result in streaks or lines on prints. Carefully remove the drum unit according to the manufacturer’s instructions and clean it using a lint-free cloth. Avoid touching the drum surface directly to prevent damage.
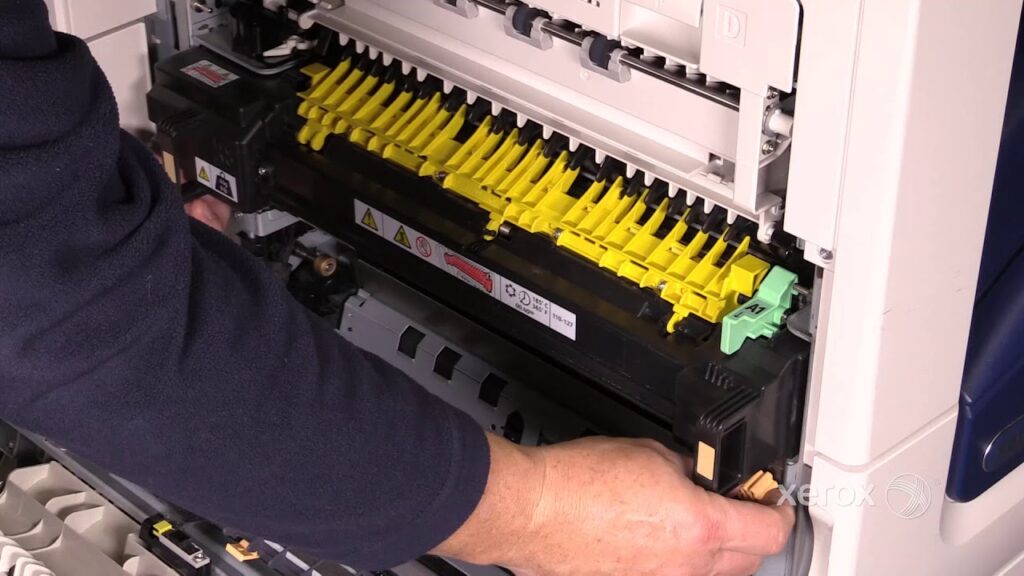
3 – Check the Fuser Unit
A malfunctioning fuser unit can cause smudges or spots on prints. Inspect the fuser unit for any signs of damage or foreign objects. If necessary, replace the fuser unit following the manufacturer’s guidelines.
4 – Clean or Replace Rollers
Dirty or worn-out rollers can leave streaks or lines on prints. Use a soft, lint-free cloth dampened with water or isopropyl alcohol to clean the rollers thoroughly. If the rollers are damaged or excessively worn, consider replacing them to restore print quality. This can solve your problem in removing lines, streaks, or spots in your copies or prints.
5 – Adjust Paper Handling Settings
Improper paper handling can also contribute to print quality issues. Ensure that the paper size, type, and weight settings on the Xerox machine match the paper being used. Additionally, check for any paper jams or misfeeds that may have occurred during printing.
6 – Maintain Optimal Environmental Condition
Extreme environmental conditions, such as high humidity or temperature fluctuations, can affect print quality. Ensure that the Xerox machine is placed in a well-ventilated area with stable temperature and humidity levels to minimize the risk of print quality issues.
Additional Tips and Considerations
Perform Regular Maintenance
Incorporate routine maintenance tasks, such as cleaning and inspection, into your printer maintenance schedule to prevent print quality issues from occurring.
Use Genuine Xerox Supplies
For optimal performance and print quality, always use genuine Xerox toner cartridges and replacement parts recommended for your specific Xerox machine model.
Consult Xerox Support
If you encounter persistent print quality issues despite troubleshooting efforts, don’t hesitate to contact Xerox customer support or consult the printer’s user manual for further assistance.
Conclusion
In conclusion, removing lines or spots on copies and prints produced by Xerox machines requires a systematic approach to troubleshooting and maintenance. By following the step-by-step guide outlined in this article and adhering to best practices for printer care, you can effectively remove print quality issues and ensure consistent, professional-looking output. With proper maintenance and attention to detail, your Xerox machine will continue to deliver exceptional results for your printing needs.

