
With the rise of mobile technology in the office, MFP manufacturers have been doing an excellent job of keeping the devices up-to-date to be compatible with mobile printing solutions such as printing from tablets and phones. The Kyocera TASKalfa MFP line is no different. The Kyocera machines come AirPrint-Ready to print using the Macintosh AirPrint Driver from your iPhone and iOS devices.
But something to keep in mind is that for this feature to work, the copier and the mobile device need to be on the same network. Usually, you’ll see this where a copier is on the wireless network and the phone is on the same wireless network.
So without further ado, let’s discuss how to enable AirPrint on your Kyocera MFPs:
Setting Up and Enabling AirPrint
- Step 1 – The first thing you’ll need is to get your printer’s IP address. If you don’t know how to find your Kyocera MFP’s IP address, you can read this article to guide you.
- Step 2 – Once you have your IP address, open up a web browser and type the IP address in the URL address bar.
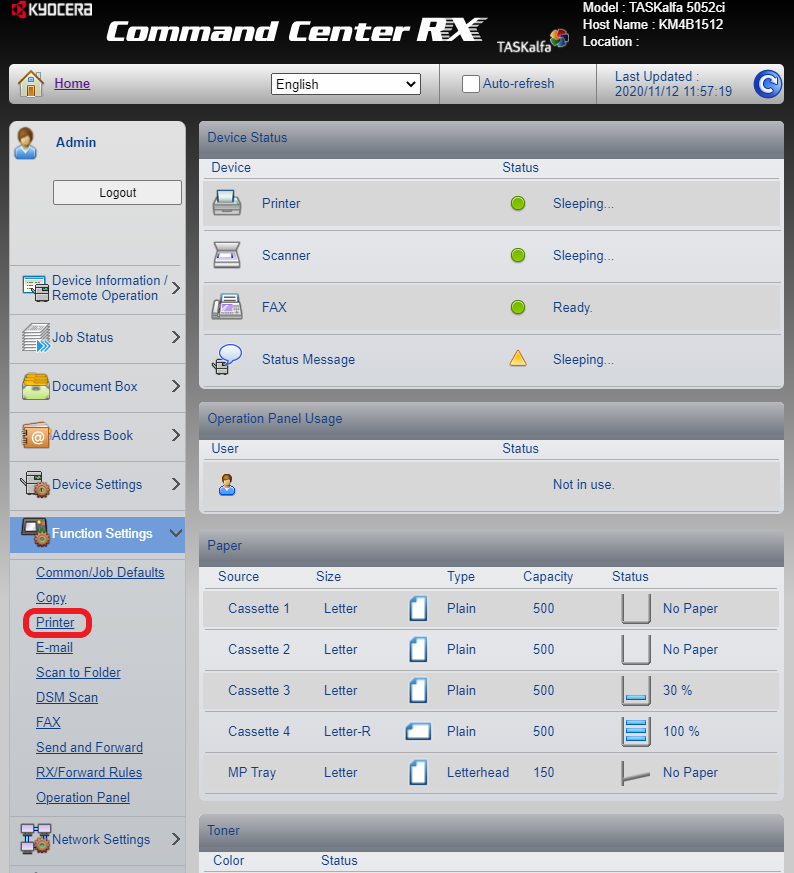
- Step 3 – Once you are in the web portal, log in as an admin. Go to Function Settings and then Printer.
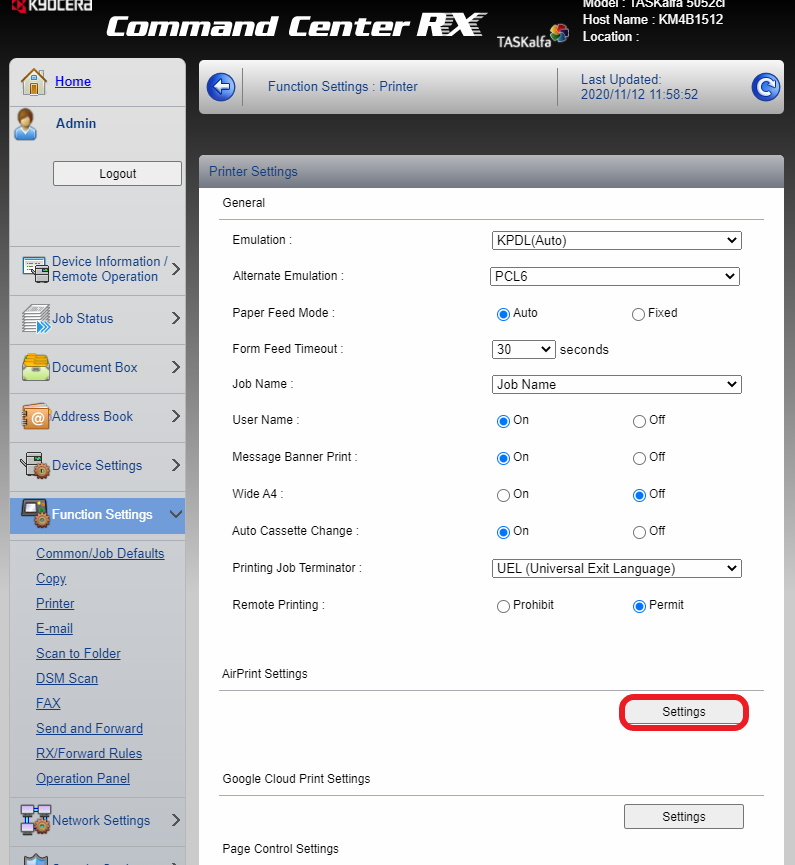
- Step 4 – Scroll down until you find AirPrint Settings, then click “Settings.”
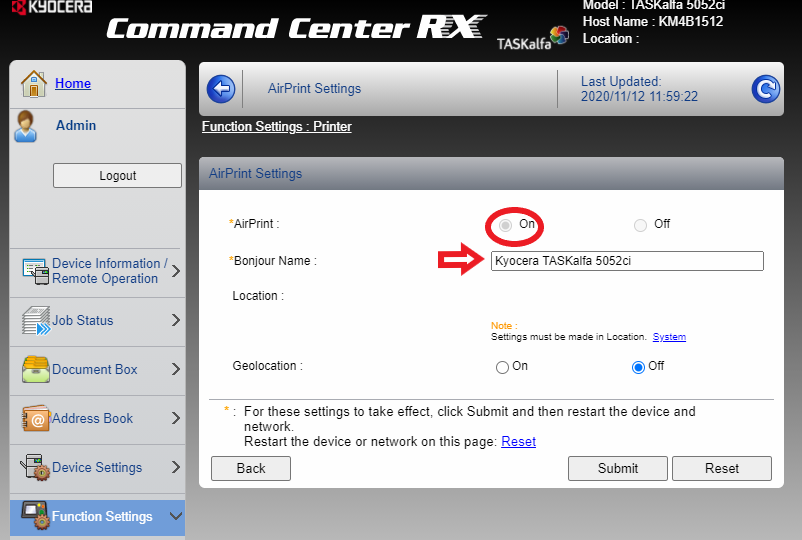
- Step 5 – Click on the “On” AirPrint setting, and then edit the Bonjour Name. This is the name that you will see when you are searching for the Kyocera MFP on your phone. You can either simply name it as the model itself, such as Kyocera TASKalfa 4053ci, or use “office copier.”
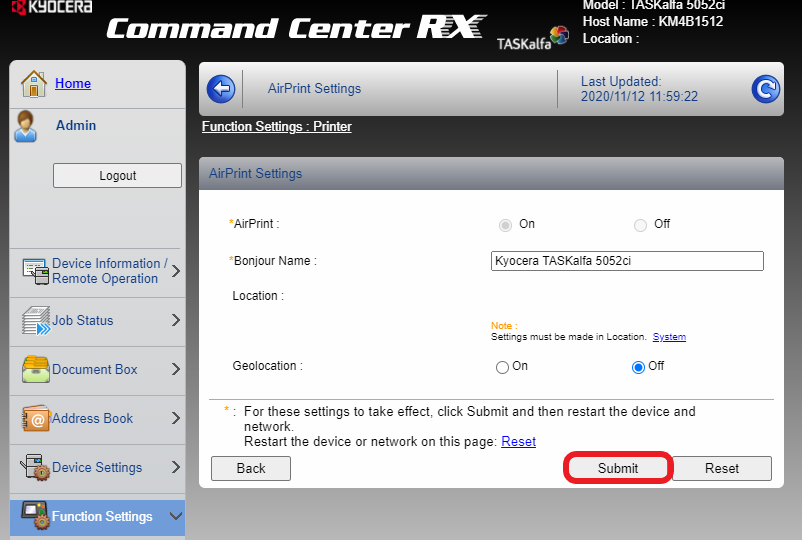
- Step 6 – Once done, click “Submit” and then “Confirm” on your web page to set up those settings.
Now, in order for your iOS device to see the MFP/copier after AirPrint has been enabled, you may need to restart your device to re-sweep the network for printing devices.
For more tips like this, make sure to follow our blog.
Source:
Boston Document System