Is your Xerox AltaLink machine in need of a fuser replacement? Here is a quick video guide from Xerox Support YouTube Channel on how to replace fuser on the Xerox® AltaLink® B8090 Family products:
Xerox AltaLink B8090 Family Replacing the Fuser Assembly
Replacing Fuser Assembly on Xerox AltaLink B8090 Series
The fuser assembly or fuser module is a critical component in your Xerox AltaLink machine. It fuses the toner powder onto the page using pressure and heat to create a print.
Frequent printing causes the fuser unit to wear out, needing to be replaced. Your Xerox Altalink device will inform you when to replace your fuser unit. Another indicator that your fuser needs to be replaced is when it starts printing repeated lines on your printouts.
Below is a complete guide on how to replace the fuser on the Xerox® AltaLink® B8090 Family products:
Support for:
- AltaLink B8045
- AltaLink B8055
- AltaLink B8065
- AltaLink B8075
- AltaLink B8090
Things to Remember
- Unplug the printer and let it cool down before you start the process.
- The fuser assembly may be very hot and should be handled with care. Use the lifting handles on each end to avoid any contact during removal or replacement.
- Avoid contact with the internal parts of the cartridge.
- Do not remove the guards or covers fastened with screws when replacing consumables.
- Do not attempt any maintenance procedure not described in your device manual.
How to Replace Fuser Assembly on Xerox AltaLink B8090 Series
- Step 1 – Power the device off. Let it rest for at least 40 minutes so the fuser can cool down.
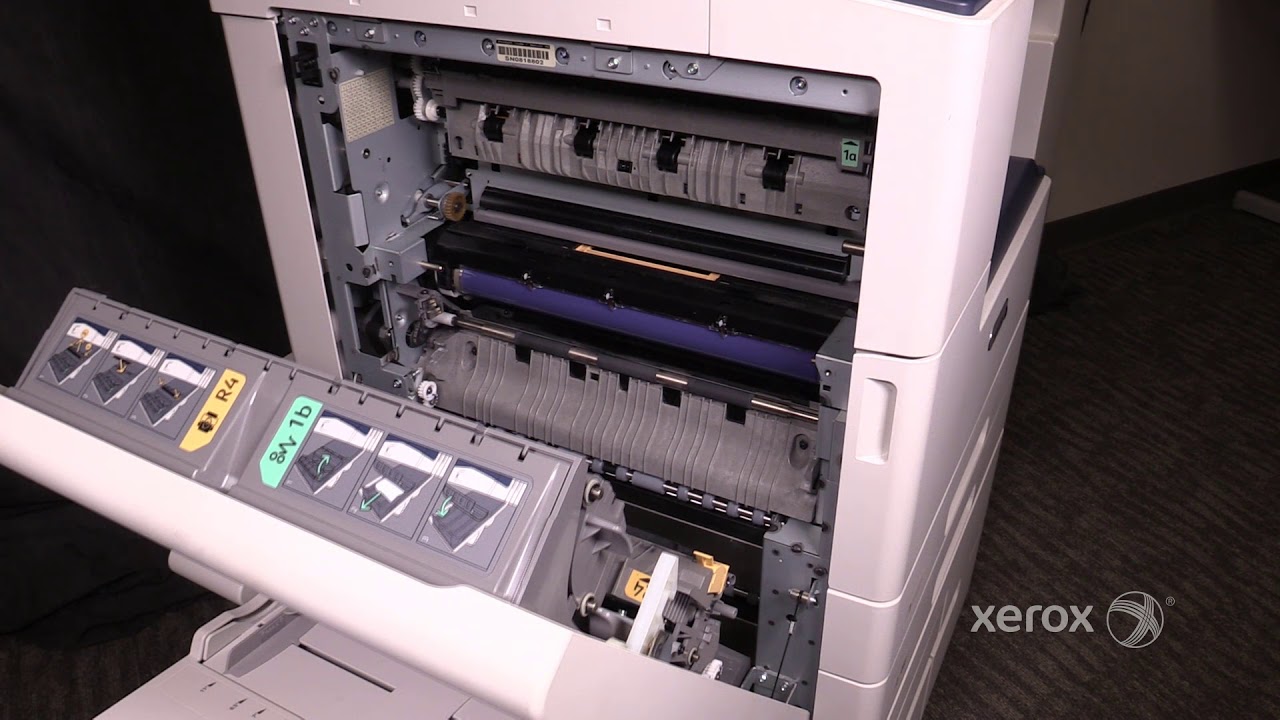
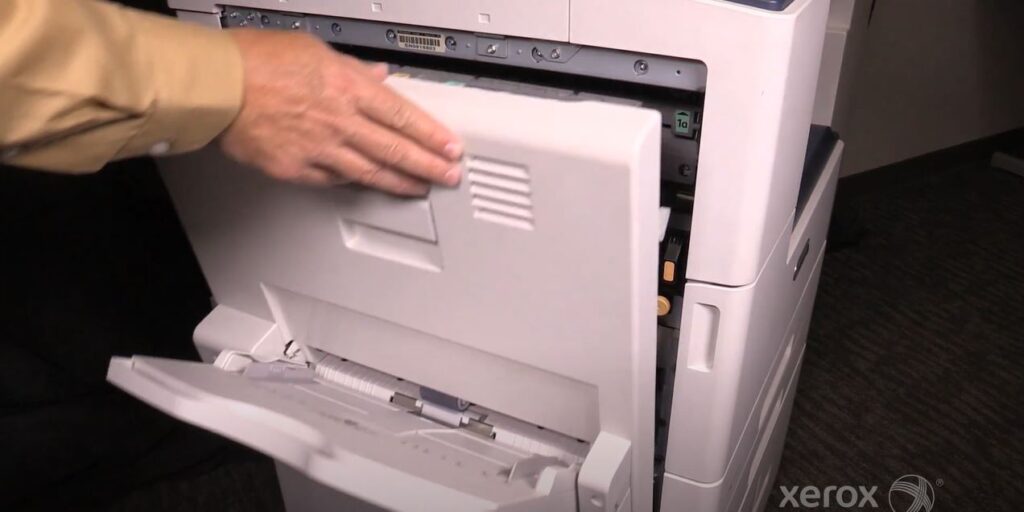
- Step 2 – Lift the handle to open the door on the left side of the device. Carefully lower the door until it comes to a rest.
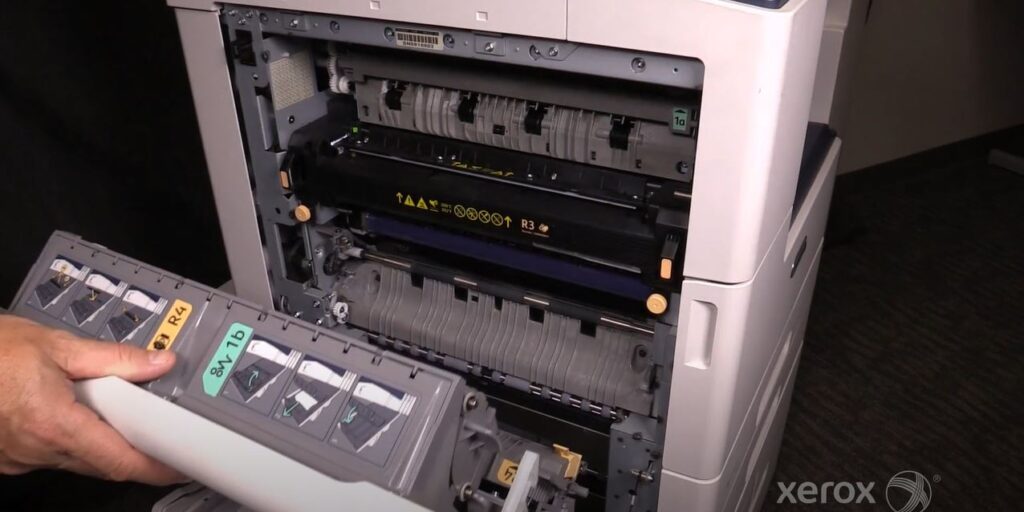
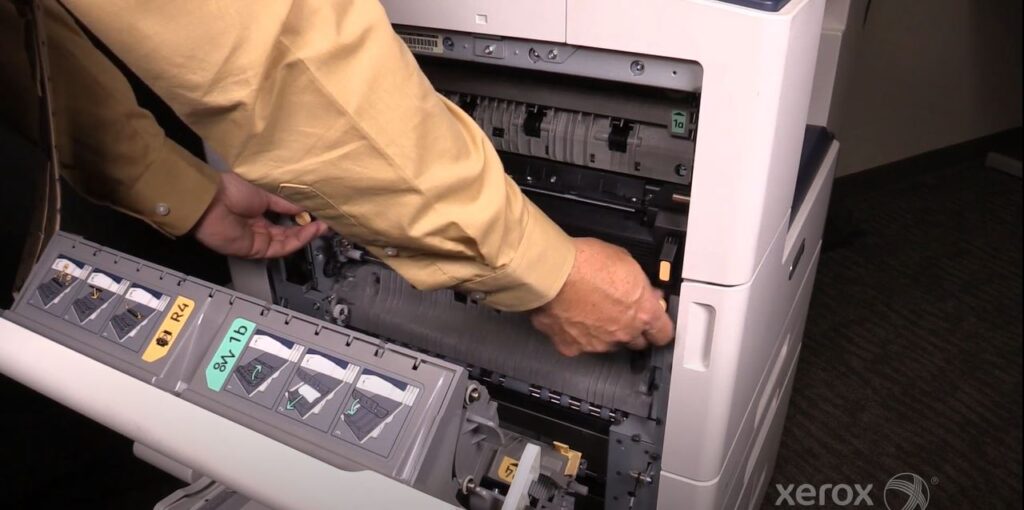
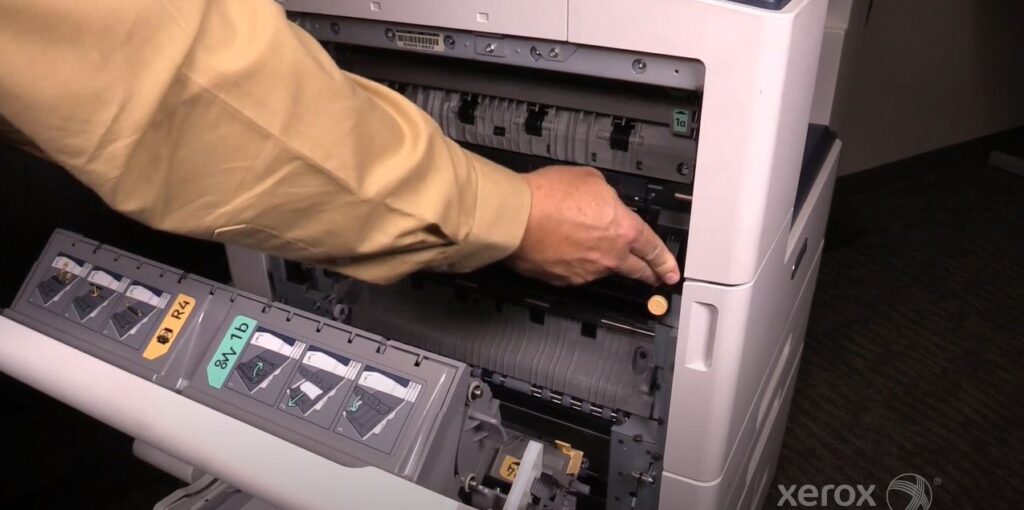
- Step 3 – Locate the two orange screws on the device side of the area you just opened.
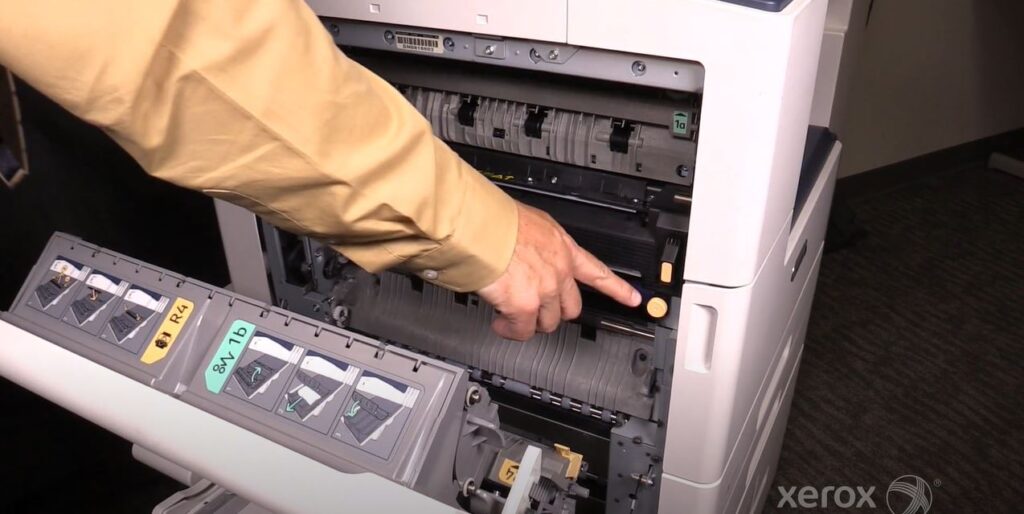
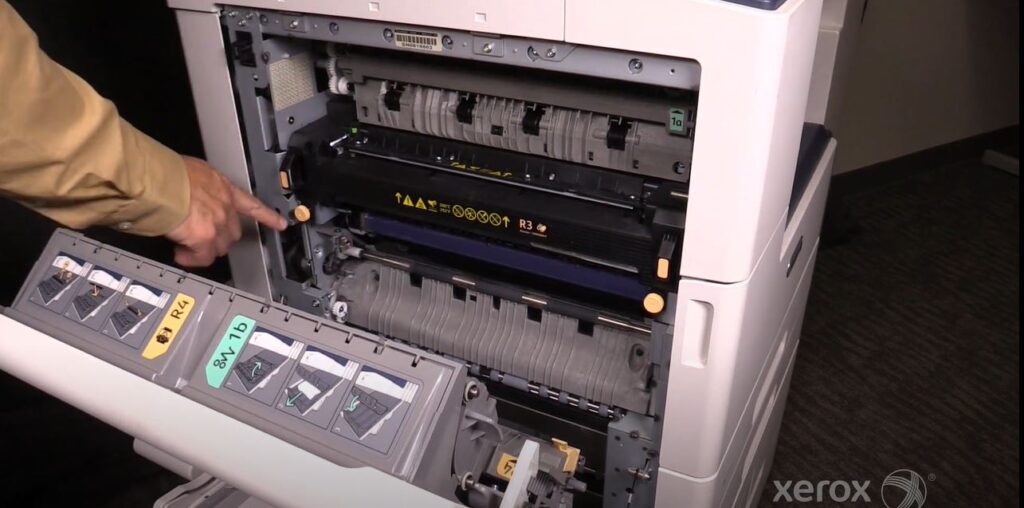
- Step 4 – Rotate both the orange screws anti-clockwise to unscrew the module. You do not need to remove the screws.
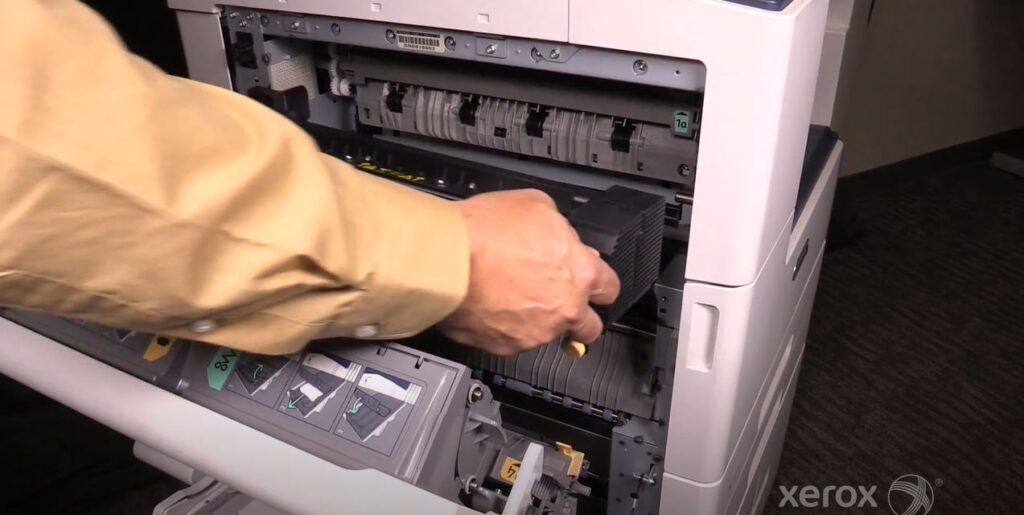
- Step 5 – Put your index fingers through the handles and pull the fuser module directly out of the device.
- Step 6 – Remove the new fuser assembly from the box.
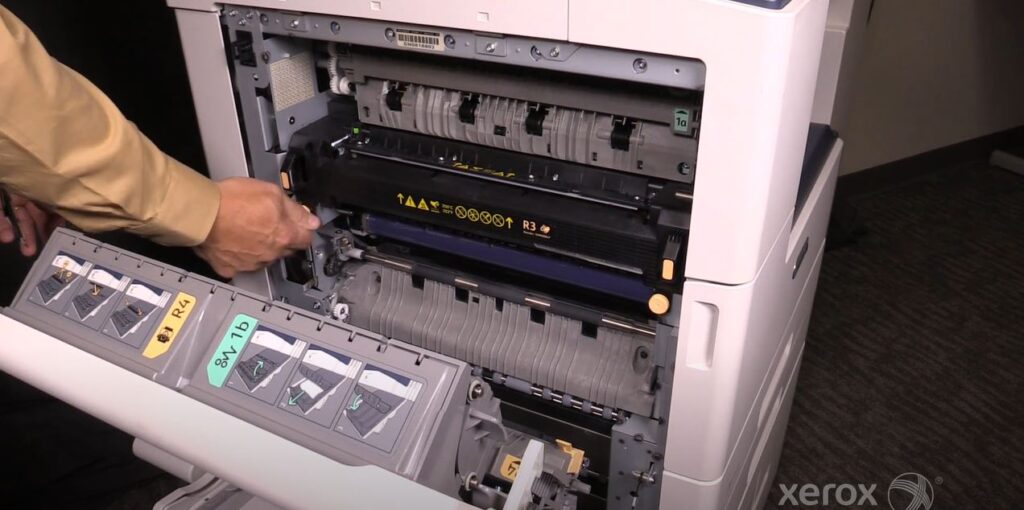
- Step 7 – Insert the new fuser by gently pushing it into the device until each end is in place.
- Step 8 – Rotate both orange knobs clockwise to screw the module securely into place.
- Step 9 – Close the left side door.
- Step 10 – Turn on the device and test print to see if everything is working smoothly.
Source: